Although dip manicures are beautiful, you can’t keep them forever. At some point, you must remove your manicure. Instead of visiting the salon, you can remove the dip set at home. Learn how to remove your dip nails at home with the help of this guide. Make sure you stick around for aftercare tips as well!
Understanding Dip Nails
Dip nails involve dipping your nail into a colored powder and using a clear sealant to lock in the color. Unlike a traditional nail polish application, dip nails are more enjoyable to apply. It’s as simple as placing your finger in the powder, brushing off the excess product, and then using a topcoat to keep the seal in color. What’s easier than that?
Dip manicures are durable like acrylics but natural-looking like gel nails. People love dip nails because they’re long-lasting (up to a month), chip-resistant, gentle, and DIY-friendly. Dip nails are fast drying with no UV or LED light needed. With the right tools, anyone can achieve a gorgeous dip set! You can find tons of color options to achieve your desired look.
Are There Drawbacks To Dip Nails?
Dip nails are fun and simple to apply. The best part is that they’re long-lasting and durable! However, dip nails aren’t perfect. In fact, they have three drawbacks that you should know.
- Bacteria concerns – Dipping your nails in a powder container raises sanitation concerns. You risk germ transference as bacteria on your nails can contaminate the powder. This can lead to bacterial infections and ruin the product. Fortunately, using the “pour-over” method or separating the powder stops the spread of germs.
- Bonding agent issue – To “lock in” the powder, you’ll use a sealant polish to bond the powder to your nails. There are different bonding resins on the market. However, the resin’s main ingredients are also in Krazy Glue, Gorilla Glue, and other similar products. These ingredients are harsh on nails and skin. Thus, it’s essential to find natural and organic bonding resins.
- Removal problems – You shouldn’t rush the dip nail removal process. Though it’s lengthy, rushing through parts will damage your nails. For example, not soaking your nails in acetone and scraping off the polish can harm your nail plate.
Dip Nails Removal Process
As mentioned, the removal process is lengthy. The steps aren’t complicated but soaking the dip powder off requires patience. Please note that the longer you wear dip nails, the longer you must soak them.
For instance, removing dip nails the same day you apply them may take 15 minutes. The product is new to your nails and hasn’t “settled” in yet. In contrast, removing dip nails after three or four weeks requires 30 minutes of soaking.
Although times vary, you can safely remove your dip nails at home by gathering the right tools and following our steps.
Tools You Need
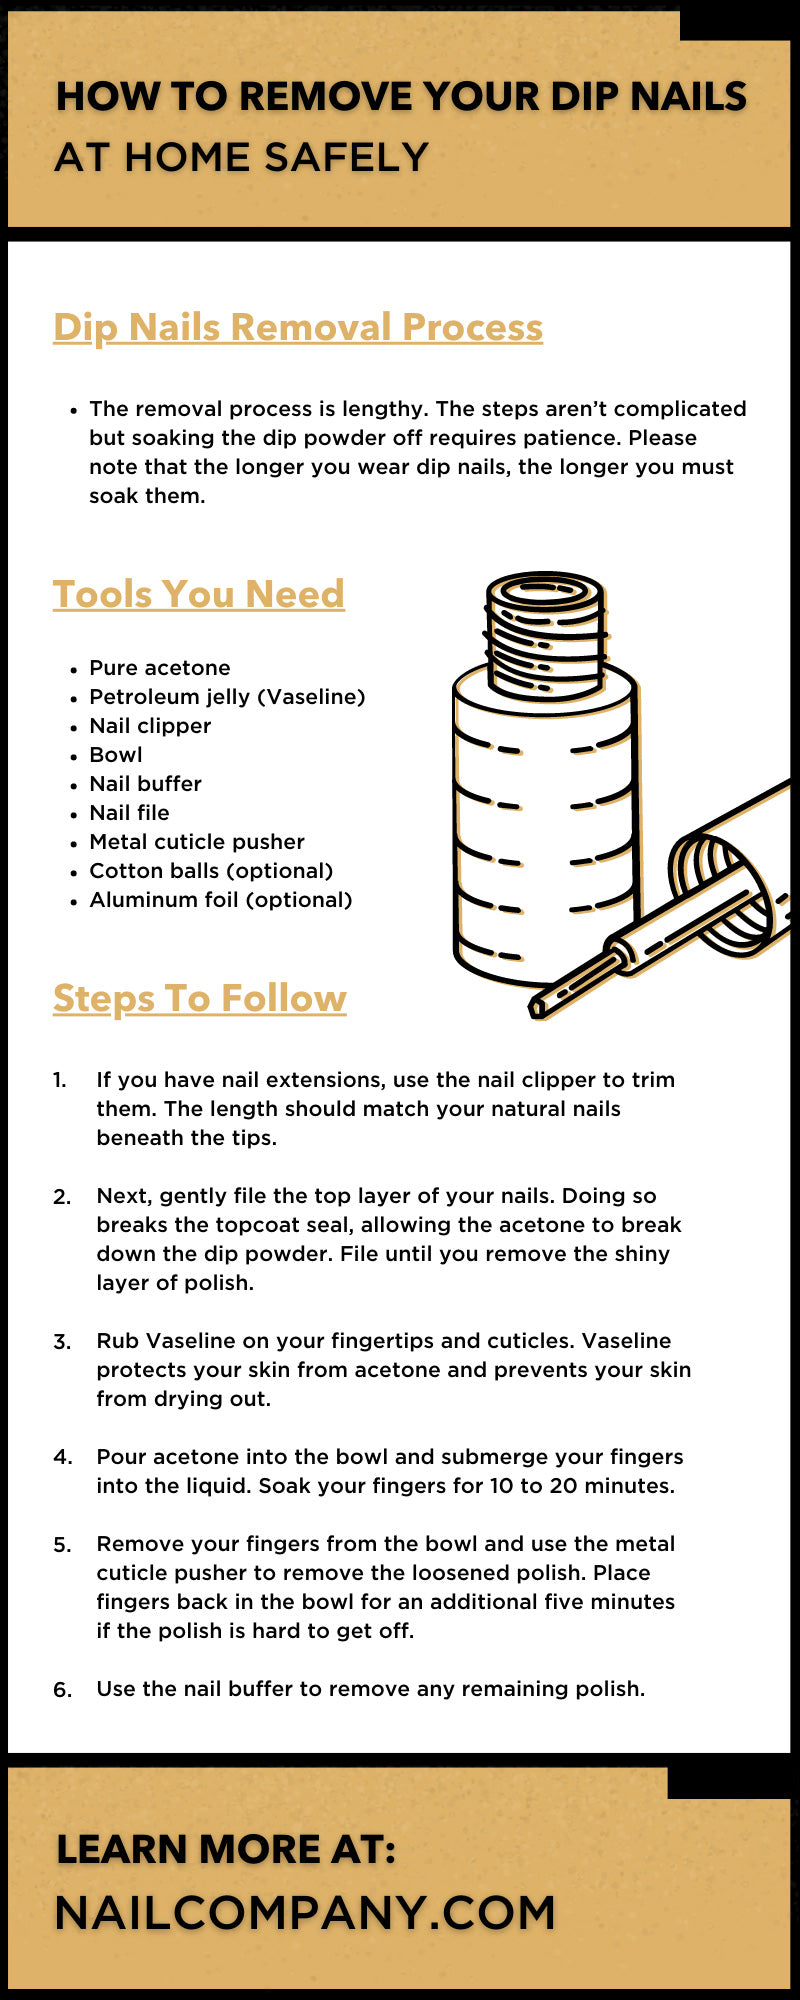
- Pure acetone
- Petroleum jelly (Vaseline)
- Nail clipper
- Bowl
- Nail buffer
- Nail file
- Metal cuticle pusher
- Cotton balls (optional)
- Aluminum foil (optional)
Steps To Follow
- If you have nail extensions, use the nail clipper to trim them. The length should match your natural nails beneath the tips.
- Next, gently file the top layer of your nails. Doing so breaks the topcoat seal, allowing the acetone to break down the dip powder. File until you remove the shiny layer of polish.
- Rub Vaseline on your fingertips and cuticles. Vaseline protects your skin from acetone and prevents your skin from drying out.
- Pour acetone into the bowl and submerge your fingers into the liquid. Soak your fingers for 10 to 20 minutes.
- Remove your fingers from the bowl and use the metal cuticle pusher to remove the loosened polish. Place fingers back in the bowl for an additional five minutes if the polish is hard to get off.
- Use the nail buffer to remove any remaining polish.
Alternative Method
If you don’t want to soak your fingers in acetone, here’s an alternative method using cotton balls and aluminum foil:
- File the top layer of nail polish to remove the shiny coat.
- Soak 10 cotton balls in acetone; make sure you saturate all the balls.
- Place a cotton ball on each nail and then wrap them with a small piece of aluminum foil. This ensures that the balls stay in place.
- Keep the foil and cotton on your nails for 10 to 15 minutes.
- Press down slightly on your nails and remove the foil and cotton (this helps remove the polish).
- For the remaining polish, soak more cotton balls and repeat steps three through five. You don’t want to scrape or force the polish off your nails. Scraping may damage your natural nails.
- Afterward, wash your hands with soap and water to remove any remaining product.
Is Acetone Necessary?
Both removal methods include acetone as a vital component in getting rid of polish. It’s easier to use acetone for dip nail removal, but it’s not the only way. Combine white vinegar and alcohol or baking soda and toothpaste to create an alternative substance. You can successfully remove dip nails with the mixture while following the steps above.
The Importance of Aftercare
With any long-lasting manicure, the polish and bonding resins can take a toll on your natural nails. Additionally, the removal process can affect your nail beds and plates. After all, soaking your fingertips in acetone can strip natural oils from your skin. Even if you use an alternative substance (i.e., vinegar and alcohol), aftercare is still critical.
You risk dry and cracked skin if you don’t take care of your nails between manicures. Furthermore, your nails can become brittle, and you may experience a cuticle infection. No one wants to deal with any of these occurrences. That’s why aftercare is essential!
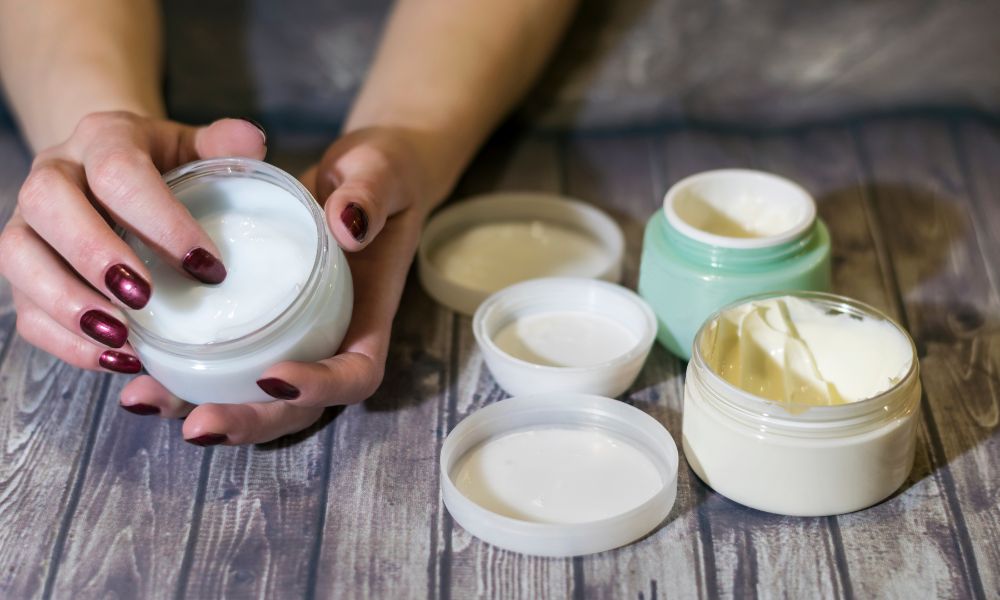
After removing dip nails, wash your hands with mild soap and warm water. This gets rid of excess acetone and the remaining product. Then, moisturize your hands with lotion or hand cream. Use cuticle oil to massage and nourish your cuticles.
Take a Break
Aftercare also involves taking a break between manicures. Take a two to three-month break between dip powder manicures. Your nails can become brittle and dehydrated if you don’t wait long enough.
During your break, consider a moisturizing treatment. An intense treatment will strengthen your natural nails and rejuvenate the surrounding skin. Seek nail repair treatments with ingredients like glycerol, propylene glycol, and botanical essential oils. They hydrate and improve your nails.
It’s all about strengthening your nails and preparing them for your next manicure!
Nail Company Wholesale Supply knows a thing or two about manicure supplies. We carry top-quality products for all your nail needs. We have Glam and Glits acrylic powder and other fabulous items. Browse our selection today!


